# Employee RFID Wristbands / Tags
## How to scan an RFID tag
1. Prepare the **Wristband**: Remove one of the employee wristbands from its respective plastic bag.
2. Position the **Device**: Ensure the app is open on your device and "Tap tag to login" is displayed on the screen.
3. **Scan** the Tag: Place the round dial of the wristband on the back of the device, near the NFC antenna location in the middle of the device. This process is akin to making a contactless payment with your bank card or phone.
4. **Confirmation**: Upon successful scanning, your device will emit a confirmation sound. Note that this sound only signifies the tag has been read, not that the action was successful.
5. **Review** Employee Information: Post scanning, a window will pop up displaying the employee's details linked to the tag, including their employee number, name, surname, and team.
## How to identify an RFID tag
RFID wristbands in the system are pivotal for efficient employee identification and tracking. Each wristband is uniquely linked to an individual employee’s profile. To ascertain which employee a specific wristband is associated with, follow these steps:
1. **Launch the App on the device:**
* Navigate to and open the application installed on the device.
2. **Navigate to the Login Screen:**
* On the app’s login screen make sure you see the NFC (Near Field Communication) icon. This is typically accompanied by the prompt "Scan to login."
3. [**Scan the Wristband**](#how-to-scan-an-rfid-tag)
4. **View Employee Details:**
* Once the wristband is scanned, the linked employee’s details will be displayed on the screen. This includes their name and relevant profile information.
5. **Unlinked or Resigned Employee Tags:**
* If the RFID tag is not associated with any employee in the system, a notification will indicate this on the screen.
* Similarly, if the wristband is linked to an employee who has resigned, this status will be displayed.
## Employee Tag Assignment
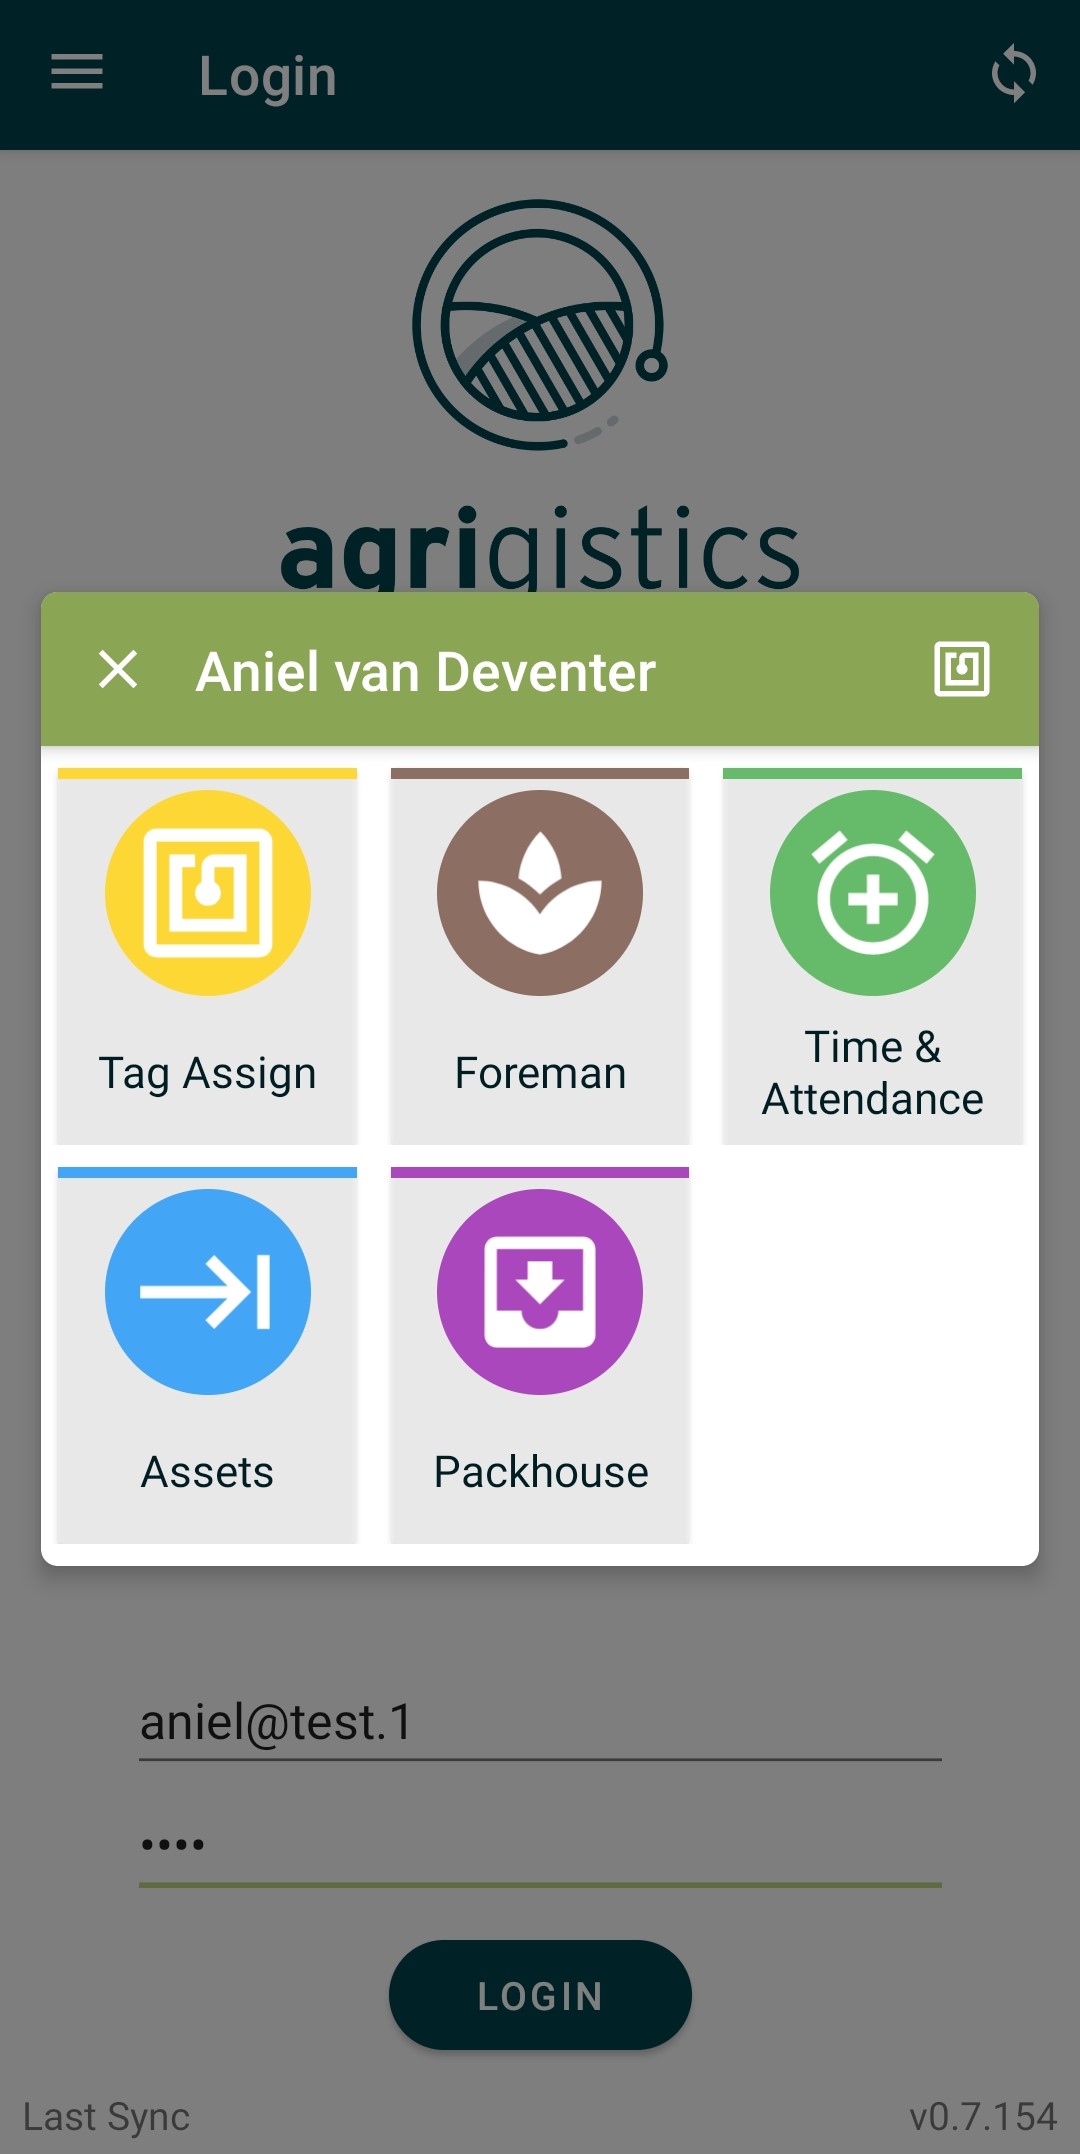
### Sign In as a User
1. **Access the System**: Sign in with your user credentials on the designated device.
### Navigate to Employee Tagging
1. **Open Tag Assignment**: Select the "Tag Assign" tile from the main menu.
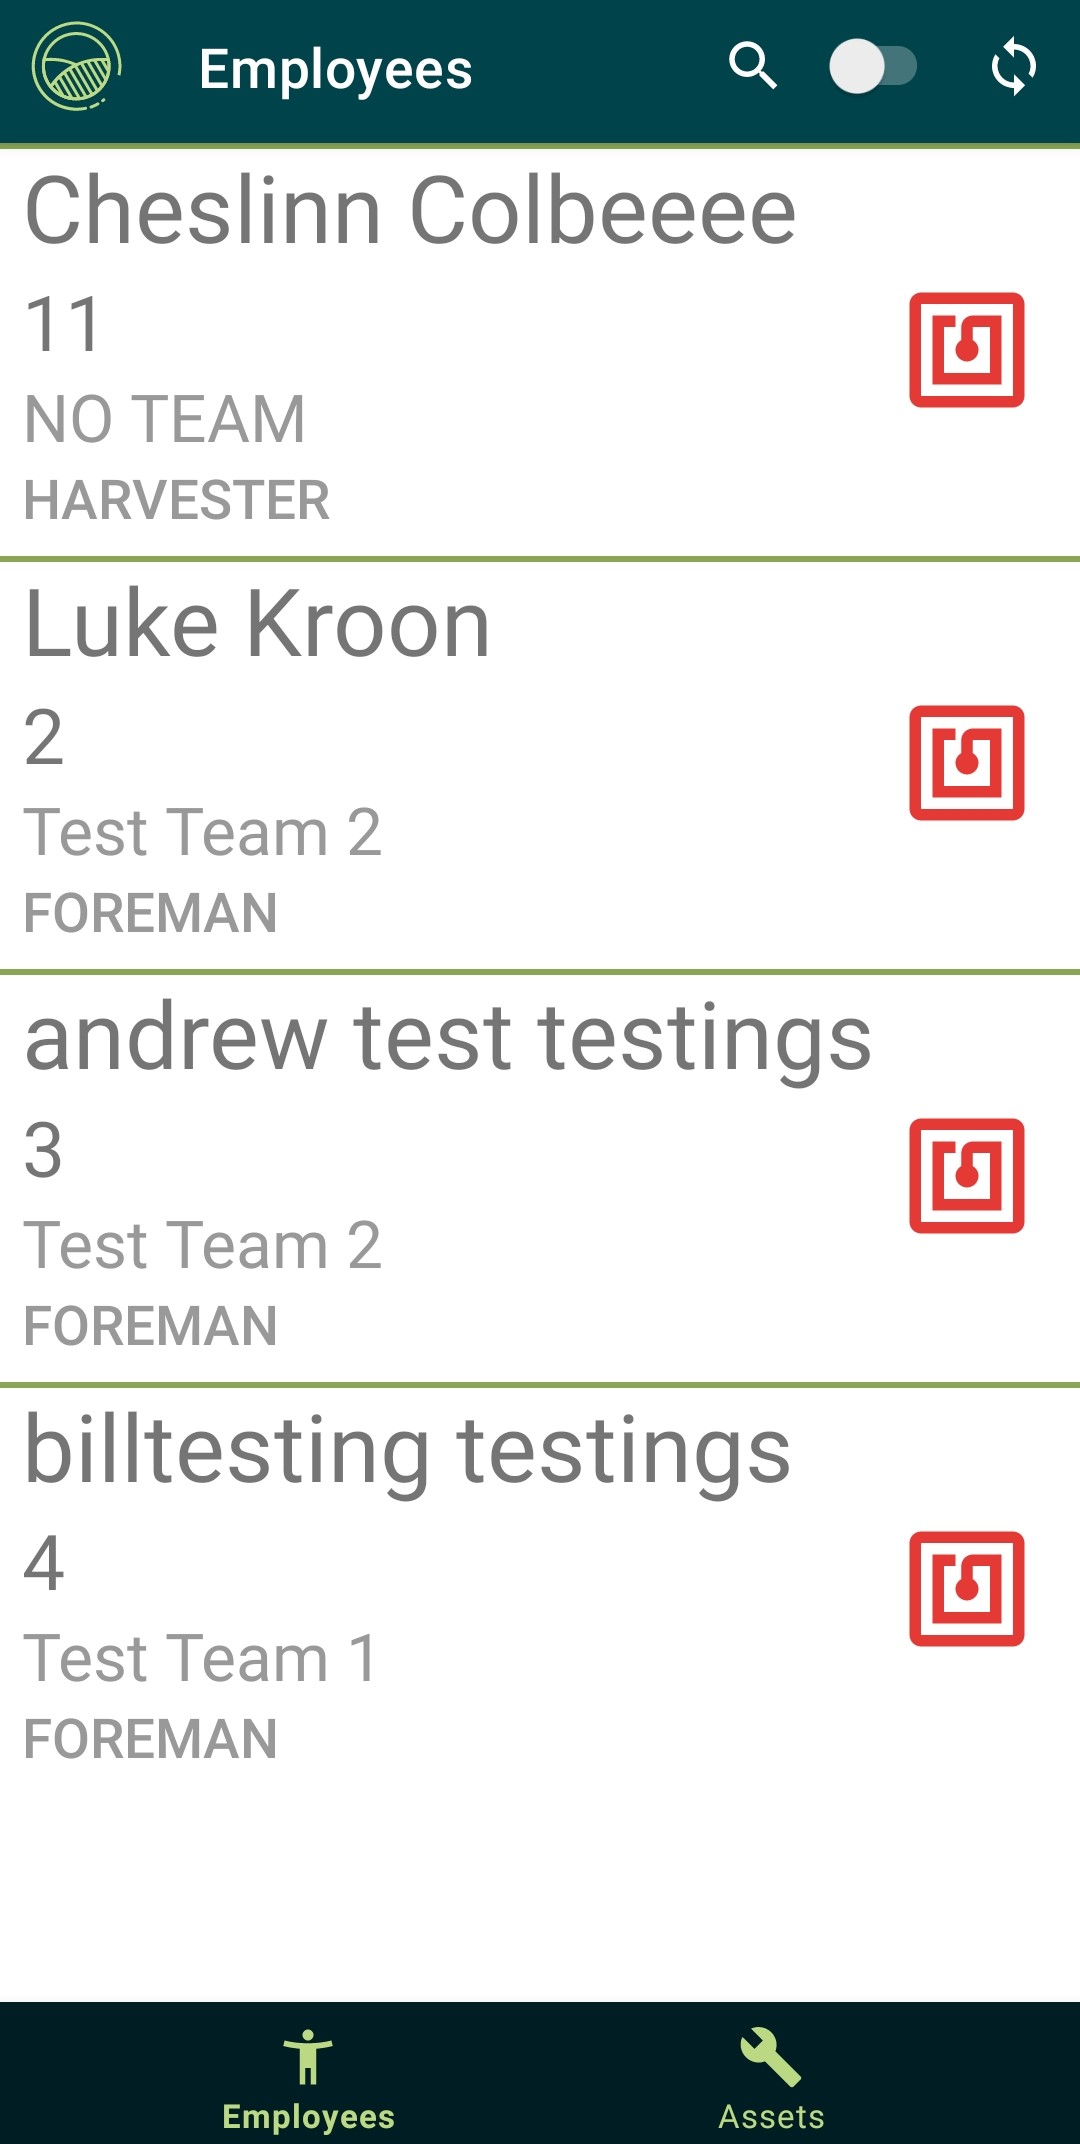
2. **Choose Employees**: Tap on the "Employees" option in the bottom navigation bar.
### Assign Tags to Employees
1. **Select Employee**: Click on the red NFC icon next to the employee's name you wish to assign a tag.
2. **Scan Tag**: Hold the employee tag close to the device to scan it.
3. **Confirmation**: Ensure the tag is correctly assigned to the employee. The system will display a confirmation message.
4. **Repeat for Others**: Continue this process for each employee you need to assign a tag.
### Unlinking Employee Tags
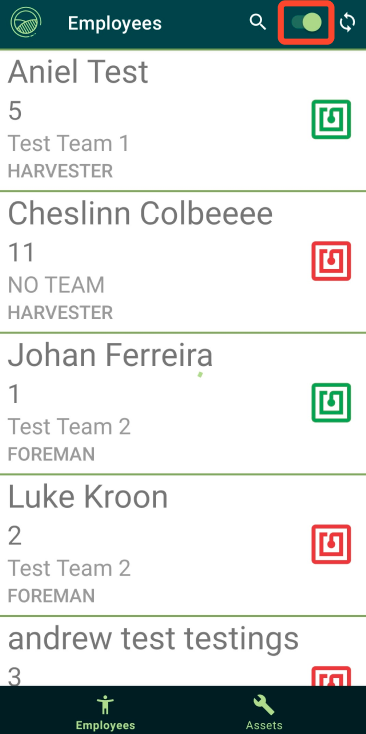
1. **Switch to Assigned View**: In the top navigation bar, use the toggle switch to view all employees with assigned tags.
Use toggle to see assigned employees as well
2. **Select Employee**: Click on the green NFC icon next to the employee's name whose tag you wish to unlink.
3. **Confirm Unlinking**: A prompt will appear for confirmation. Confirm to proceed with unlinking the tag.
Prompt to confirm unlinking of tag
1. **Repeat if Necessary**: Repeat this process for any other employees from whom you need to unlink tags.
### Review Assigned Tags
1. **Toggle View**: Use the toggle switch in the top navigation bar to switch between views of assigned and unassigned tags.
2. **Verify Assignments**: Check the list to ensure all necessary employees have been correctly tagged or untagged as required.
## Manage Lost Tags
RFID wristbands are an essential tool for employee identification. Despite their importance, wristbands can occasionally be lost. Fortunately, reassigning a new wristband involves no data loss, as they do not store information but serve purely as identifiers. Here’s how to manage RFID wristbands effectively, ensuring accountability and minimizing losses.
### Managing RFID Wristbands for Permanent Employees
1. **Initial Issue**: Permanent employees are typically issued their first wristband free of charge.
2. **Replacement Cost**: If a wristband is lost, the cost of a replacement is usually paid by the employee. This cost can be conveniently deducted from their upcoming pay slip as a deduction.
3. **Policy Communication**: Clearly communicate this policy during onboarding and through employee handbooks to ensure that employees understand their responsibilities regarding the safekeeping of their wristbands.
### Managing RFID Wristbands for Temporary Workers
1. **Upfront Deduction**: For temporary workers, managing wristband costs can be trickier due to the higher turnover and risk of absconding. To address this, it’s advisable to deduct the cost of the wristband from their **first pay slip**. This approach ensures that the cost is covered upfront.
2. **Ownership**: After the initial deduction, the wristband becomes the property of the temporary worker. They retain it when their employment ends, which allows them to reuse the wristband if they return for another season.
3. **Returning Workers**: If temporary workers return for a new season and still possess their previous wristband, they can continue using it without incurring additional costs. If they lose their original wristband, they would need to purchase a new one.