
Manage clock template
Manage clock template


Work week configuration (weekly schedule type)

Shift configuration (cycle schedule type)

Clock settings options (optional)

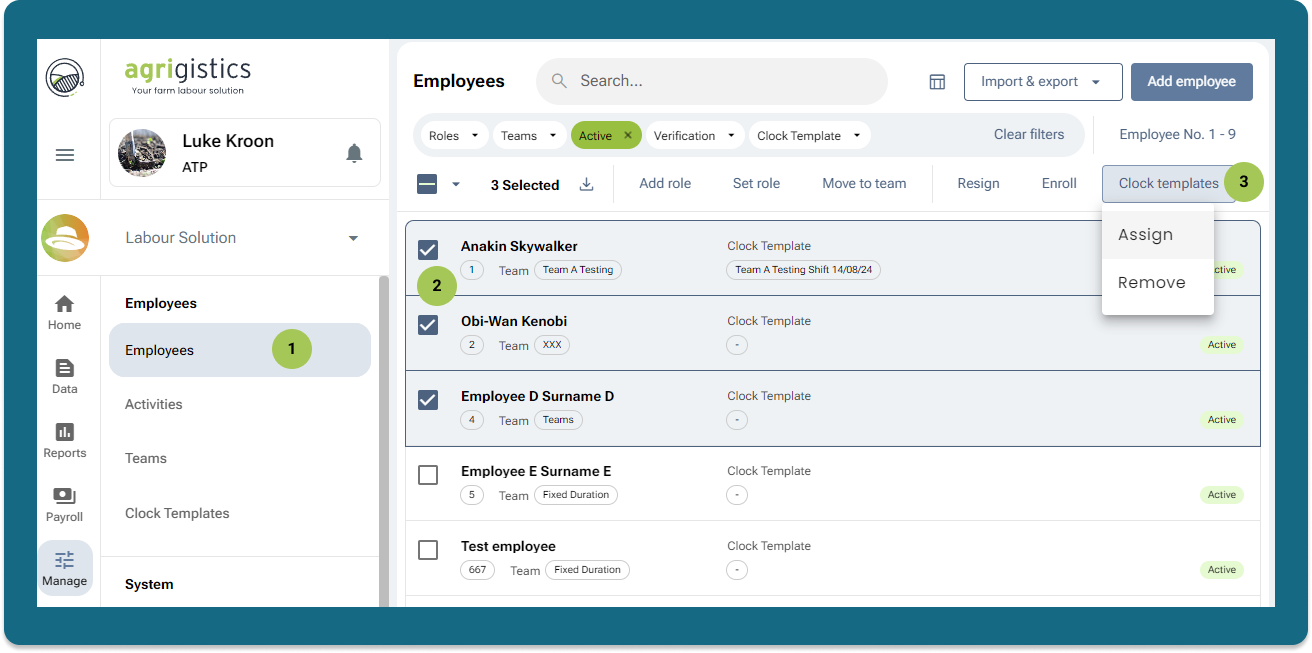
Select employees and perform the bulk action
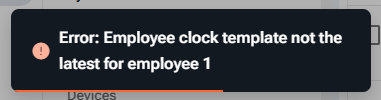
Error: Add clock template before the most recent template

Select employees to remove

Clock tempalte name with start date
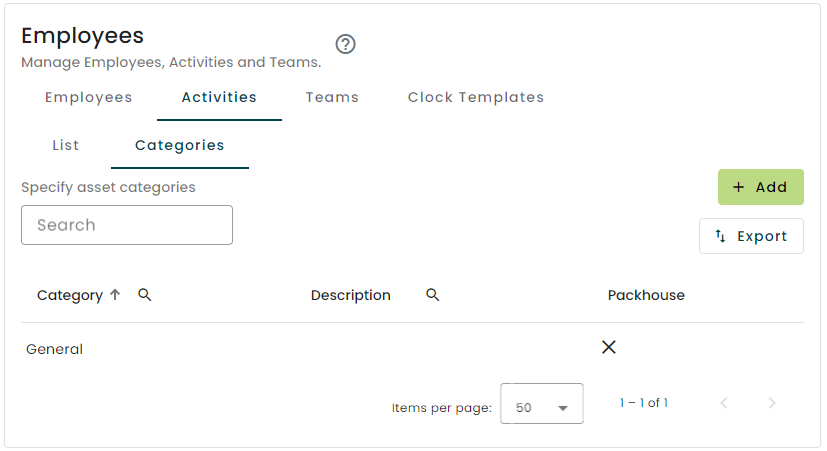
Activity Categories
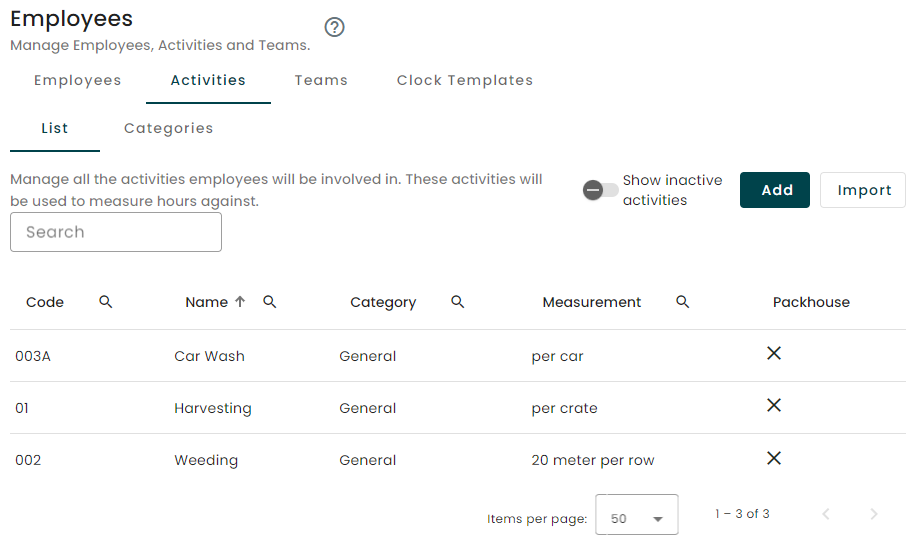
Employee activities
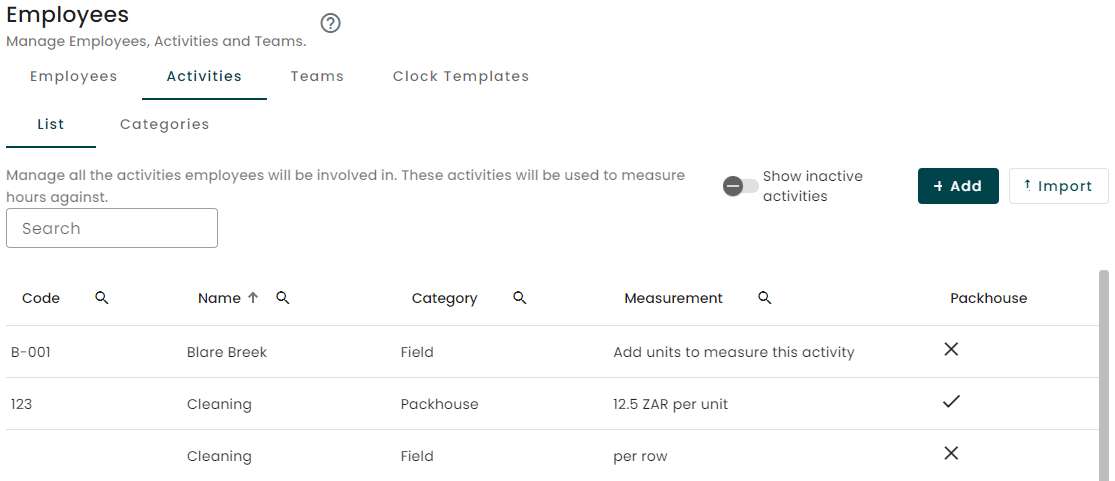
Employee Activities
 3. To view all inactive activities enable the toggle switch next to the "**+ Add**" button\

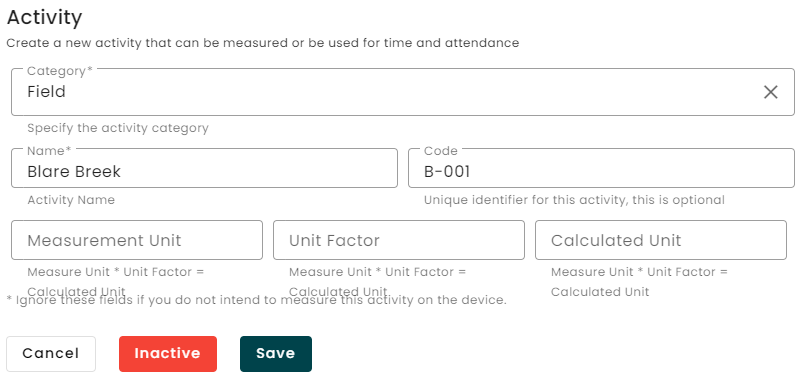
To reactivate an activity:
1. Click on the toggle button to show all inactive activities next to the "**+ Add**" button\

2. Click on the specific activity in the list
3. Click on the green Activate button\

4. The activity will now be visible on the devices
Proceed to the next section to start clocking people in on activities.
3. To view all inactive activities enable the toggle switch next to the "**+ Add**" button\

To reactivate an activity:
1. Click on the toggle button to show all inactive activities next to the "**+ Add**" button\

2. Click on the specific activity in the list
3. Click on the green Activate button\

4. The activity will now be visible on the devices
Proceed to the next section to start clocking people in on activities.